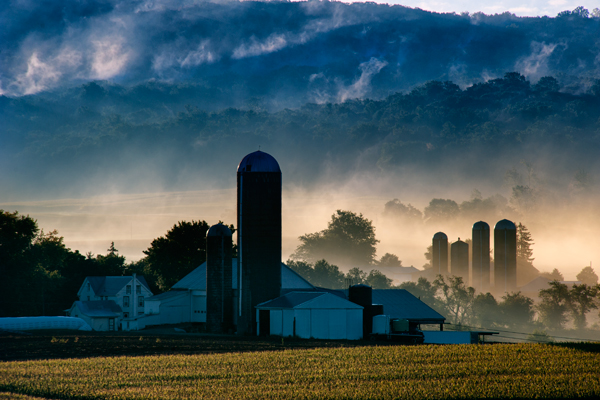
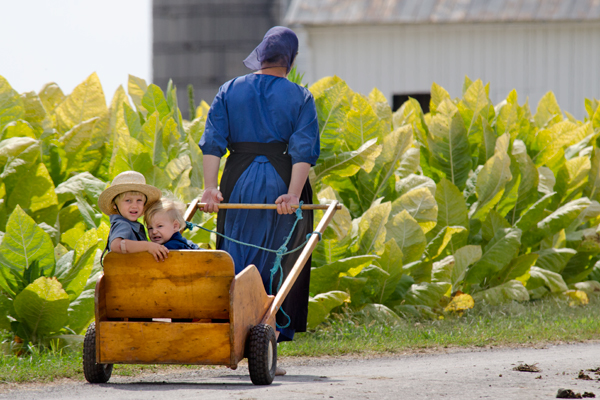
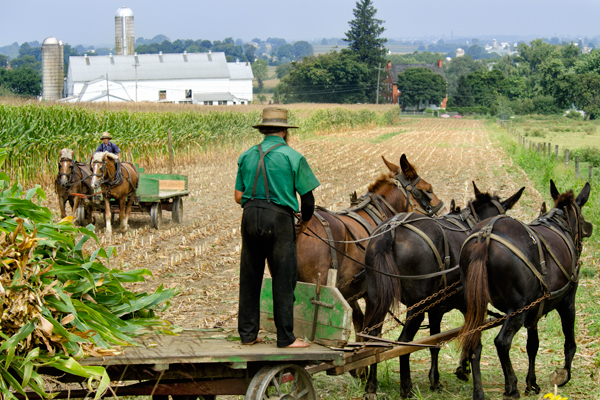
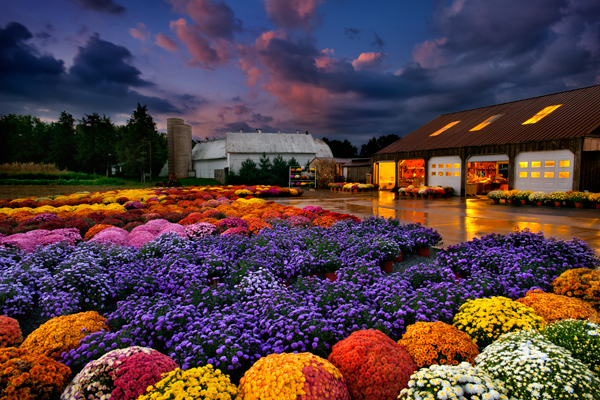
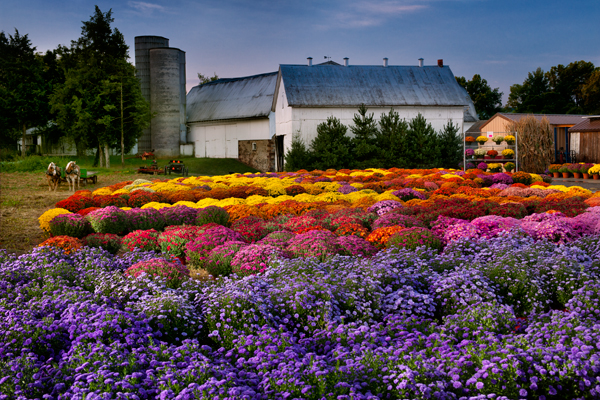
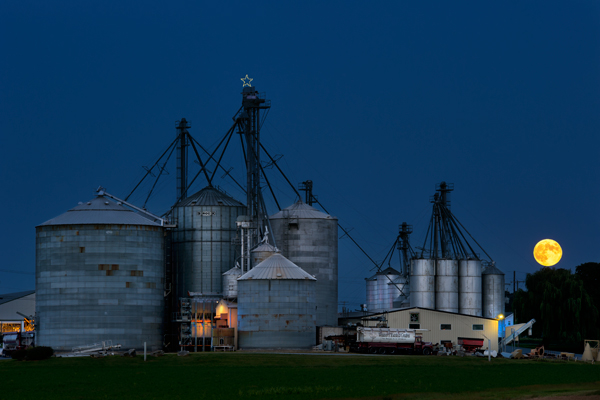
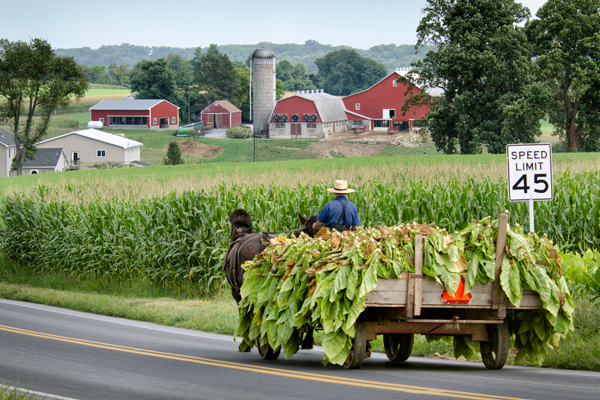
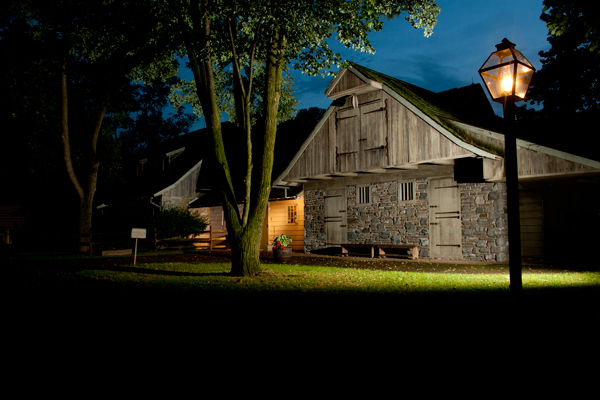
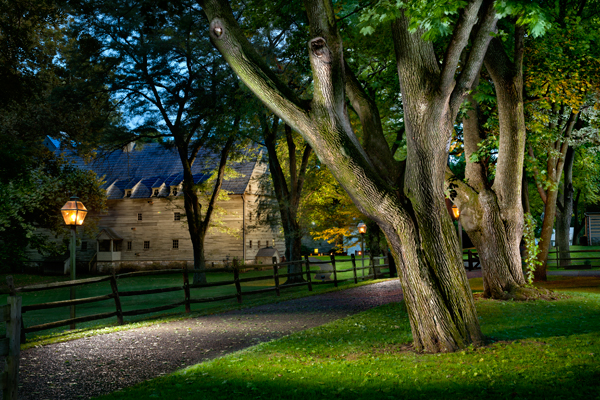
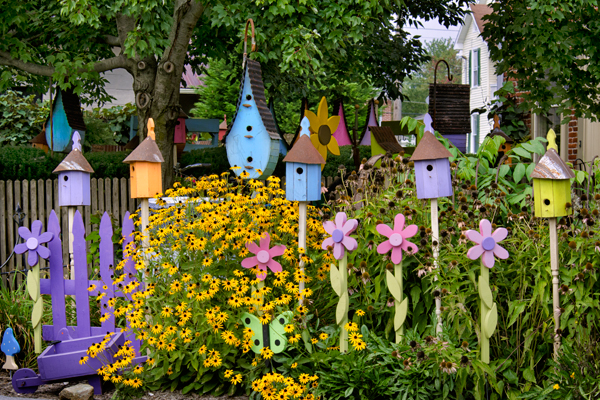
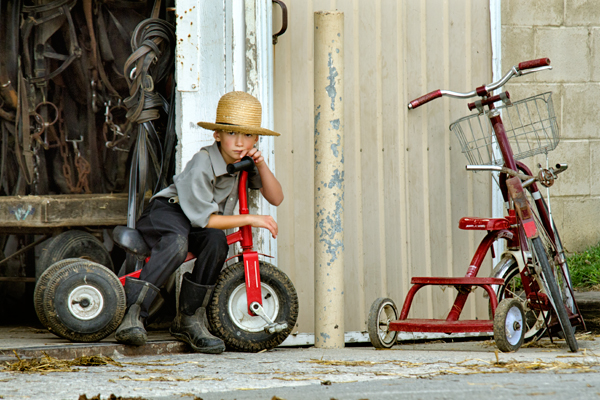
This is yet another experiment in light painting. I will elaborate a bit for anyone wanting to add this technique to their bag of tricks. The top image is my end result and your own creativity will dictate what you want in your results. The bottom two images are just two of many frames I shot to create this and you may drag them to your desktop to follow my simple instructions to visually grasp the concept.
In Photoshop start with the dark image and drag the flash added image on top so they are aligned,and then go to the layers palette and put the top layer on lighten mode.When you do that,you will see the lighter sections show up. I always apply a layer mask to hide the lighter version and then I use a brush to paint in only the lighter areas I want to show up,so in this example I might brush the building in but leave the grass dark. I continue on with each additional lighted frame I shot till I am happy with the result.
A wireless flash and camera remote are key to being able to move about the scene as needed and a laptop with software to control shutter speeds insures the camera remains fixed and does not shift while shooting. One important note is to remember you are adding highlights only,so when you light things with your light,you are not using shutter speeds that let ambient light mess you up. In other words if you have flash along with a bright scene,you will have everything lighter showing up when you brush in,so for example the tree trunk is lit against the dark roofline and if I had shot at a shutter speed that showed the roof detail, it would show up as well as a highlight.This is really a simple technique but you need to keep your wits about you while you do it.